-
 1 × R395.00
 -
 1 × R240.00
 -
 1 × R215.00
Subtotal: R850.00
Subtotal: R850.00
Polystyrene, more affectionately known in the model-making world as Styrene, is a type of plastic that’s become a bit of a superstar in the realm of creative artistry. Polystyrene’s natural form is crystal clear, but don’t be fooled—it’s as adaptable as a chameleon at a colour wheel convention (S-Polytec). This material’s versatility, durability, and sheer ease of use make it a go-to for artists looking to create anything from miniature dragons to replicating the Eiffel Tower.
For the curious cat who just stepped in, polystyrene can be easily manipulated using metalworking tools and conveniently shaped at around +120°C. No need to dry it out before heating, as this plastic doesn’t absorb ambient moisture. Talk about low maintenance!
So, why should one opt for polystyrene in their artistic endeavours? The benefits are plentiful, like chocolate in a well-stocked candy store.
1. Affordability: Polystyrene is one of the least expensive plastics out there, making it accessible to both seasoned pros and hobbyists alike. No need to break the bank to get started on that next masterpiece.
2. Ease of Use: It’s incredibly easy to process. Whether cutting, sanding, or thermoforming, polystyrene bends to your will (well, metaphorically speaking).
3. Versatility: Need to simulate wood grain, craft a solar system, or build a scale model of the Empire State Building? Polystyrene is versatile enough to handle each task with aplomb.
4. Durability: Once shaped and joined, it’s quite sturdy. Whether you’re crafting something to be marveled at or played with, polystyrene can usually take the heat without melting—unless you crank it up past 120°C, of course!
5. Machinability: Easy to machine, it can be tailored perfectly to your needs. And while other plastics might require a spa day to dry out, polystyrene is always ready to go, straight out of the bag (S-Polytec).
In selecting the perfect polystyrene for your next big (or small) project, be sure to weigh your needs carefully. For impact strength considerations, thickness matters. Thinner sheets may break easily and for those tasks, you might want to look into PETG instead.
There you have it! With polystyrene at your fingertips, your model-making journey is off to a fantastic start.
When it comes to polystyrene model making, the right kit can make all the difference. Two popular options for creative artists are the Dala Solar System Kit and the Dala Complete Solar System Kit. Let’s take a closer look at what each kit has to offer.
The Dala Solar System Kit is a great entry-level option for those looking to dive into polystyrene model making. This kit includes various pieces that allow artists to create their very own model of the solar system (My Art Shop).
However, it’s important to note that this kit does not include all necessary materials, so additional supplies will be required to complete the model. This means you’ll need to channel your inner MacGyver and get creative with sourcing extra components.
For those who want a more comprehensive solution, the Dala Complete Solar System Kit is the way to go.This kit includes everything an aspiring astronomer could possibly need to craft a stunning model of the solar system (My Art Shop). The kit comes with:
This kit is perfect for those who want to avoid the hassle of gathering extra supplies and simply jump straight into model making.
| Kit | Contents |
|---|---|
| Dala Solar System Kit | Various pieces for creating a solar system model (additional supplies required) |
| Dala Complete Solar System Kit | 9 foam balls, 9 wooden skewers, 1 polystyrene ring, 2 Fun Foam colours, 6 5ml craft paints, 2 paintbrushes, 1 craft glue |
Whether you choose the basic Dala Solar System Kit or the all-inclusive Dala Complete Solar System Kit, both options provide a great starting point for exploring the wonders of polystyrene model making.

Choosing the right material for your model making escapades is critical. Whether you favour polystyrene or lean towards PETG, it’s essential to understand their varying properties and benefits.
Ah, the age-old debate: polystyrene vs. PETG. Choosing between these two can be as bewildering as picking the right shade of blue for your “ocean tranquility” scene.
Polystyrene is like your trusty old mate; always reliable for various model making needs. This material is widely popular among model makers due to its affordability and ease of processing. It’s crystal clear in its natural form and delightful to shape, kind of like your ever-dependable Swiss Army knife.
Benefits of Polystyrene:
Note: Polystyrene sheets with additives such as Styrene Butadiene (PS-SB) offer significantly higher impact strength, making it more robust for model making adventures that need durability.
On the other hand, PETG (Polyethylene Terephthalate Glycol) is like that fancy gadget you didn’t know you needed until you had it. This material is suitable for creating transparent parts in models and has a higher impact strength compared to transparent polystyrene.
Advantages of PETG:
Comparison Table:
| Property | Polystyrene | PETG |
|---|---|---|
| Affordability | High | Moderate |
| Transparency | High | High |
| Impact Strength | Moderate | High |
| Machinability | High | High |
| Thermoforming | Required | Not Required |
| Food Safe | No | Yes |
Impact strength is a vital consideration, particularly for those moments when someone (maybe you, who knows?) decides to test the model’s resilience with a swift desk tap.
Polystyrene with additives like Styrene Butadiene (PS-SB) enhances its impact strength, thus making it more suitable for applications demanding durability. However, if your models face potential battles more intense than those on your worktable – think cat hijinks or toddler tornadoes – PETG should be your weapon of choice.
When to Choose Polystyrene:
When to Choose PETG:
Choosing the right material ensures your model is a testament to both sturdiness and visual appeal, whether you’re replicating the grandeur of a Dala Solar System or crafting a whimsical fairy garden.
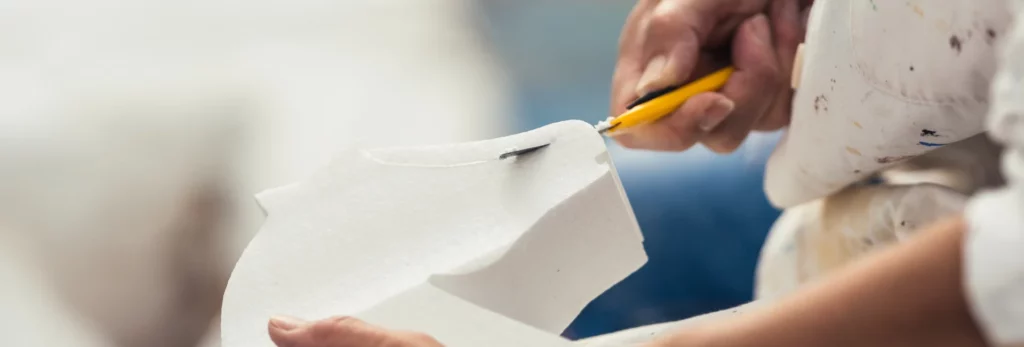
Polystyrene is a marvellous material for model making, offering versatility and ease of use. Creative artists will find that it can be machined, shaped, and joined with ease. Let’s dive into the nitty-gritty of how to work with polystyrene.
Polystyrene can be easily machined using basic metalworking tools. Yes, you read that right—those same tools tucked away in your garage can be called upon for your model making adventures. The plastic’s low melting point, around +120°C, means it can be deformed without pre-drying, as it does not absorb ambient moisture. This is a bonus for those who like to keep things simple (S-Polytec).
Consider the following table with some machining techniques:
| Technique | Tool Used | Ideal Thickness |
|---|---|---|
| Slicing | Sharp Knife | < 25 mm |
| Hot-Wire Cutting | Hot-Wire Cutter | Any |
| Sawing | Serrated Blades | > 25 mm |
| Rasping | File | Any |
| Sanding | Sandpaper | Any |
Joining polystyrene parts is a task that even a glue stick would envy. Polystyrene parts are bonded using solvents such as Testors Plastic Cement or Micro Weld. A small amount of solvent is applied to the parts to be joined, and the solvent is drawn into the joint by capillary action, forming a strong bond faster than you can say, “Voila!”.
When joining polystyrene parts, follow these steps:
Mischief managed! You’ve now bonded your polystyrene parts like a pro.
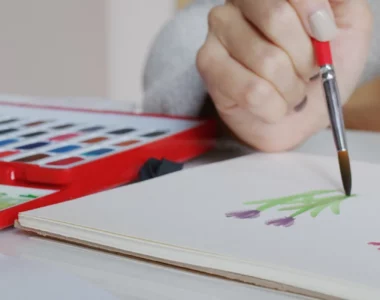
Unleashing your creativity with polystyrene requires a touch of artistry, a sprinkle of technique, and perhaps an extra-large coffee. Here are two remarkable methods to give your polystyrene models the finish they deserve.
Wood grain appearance on polystyrene gives your model the look of old, weathered wood without having to chop down a single tree. Here’s how he or she can achieve that:
| Step | Description |
|---|---|
| 1 | Clean the polystyrene surface |
| 2 | Use coarse sandpaper to create grooves |
| 3 | Adjust patterns for natural look |
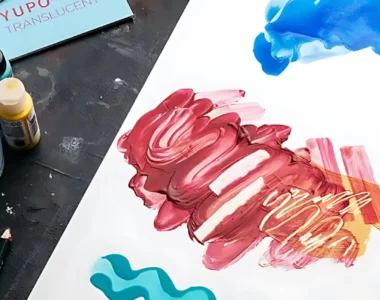
Spray painting polystyrene is like giving it a stylish makeover. It’s quick, efficient, and gives a professional finish. Here are some tips to ensure a smooth and polished result:
| Step | Tips |
|---|---|
| 1 | Clean surface with alcohol |
| 2 | Apply primer if necessary |
| 3 | Hold spray can 12 inches away |
| 4 | Use sweeping motions |
| 5 | Apply multiple thin layers |
Taking the time to master these painting techniques can elevate your polystyrene model from simple to stunning. Whether aiming for a rustic wood look or a sleek painted finish, the right technique makes all the difference. Happy crafting!
When it comes to achieving intricate designs in polystyrene model making, there are some advanced techniques that can turn creative dreams into tangible wonders. In this section, we delve into the wonders of hot wire cutting and the must-have sculpting tools to make polystyrene your artistic canvas.
Hot wire cutting is like giving your polystyrene a gentle, precise haircut. This technique involves a thin wire that heats up and slices through the foam like a hot knife through butter. The result? Smooth, precise cuts that are perfect for detailed models and sculptures.
To carve intricate details and textures, you’ll need an arsenal of sculpting tools. These specialised tools help achieve right angles, concave shapes, and precise internal profiles.
With a bit of ingenuity, one can craft custom tools that suit their specific needs, making it easier to achieve the desired shapes and textures.
| Tool | Purpose | Ease of Use |
|---|---|---|
| Sanding Formers | Smoothing edges and shaping profiles | Moderate |
| Serrated Blades | Cutting thicker sections | High |
| Files and Rasps | Adding details and textures | High |
While working on your styrofoam masterpieces, remember that polystyrene can sometimes be tricky to find in various thicknesses, especially the commonly used blue styrofoam.
That’s a wrap for working with polystyrene. See how easy and fun it can be? Now, get out there and craft some amazing models!